In the fast-paced world of social media, consistent visuals can make or break a brand’s presence. A well-edited, cohesive feed builds recognition, strengthens your identity, and invites users to engage. But achieving a unified aesthetic across dozens (or hundreds) of posts takes more than a filter. Here’s how to edit your photos for social media like a pro—ensuring your content looks polished, on-brand, and scroll-stopping.
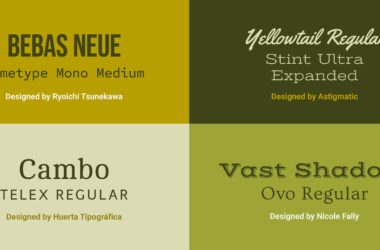
1. Define Your Visual Style Before You Edit
Before opening any editing app, get clear on the look you want to create. Your visual style should align with your brand’s personality and target audience.
Ask yourself:
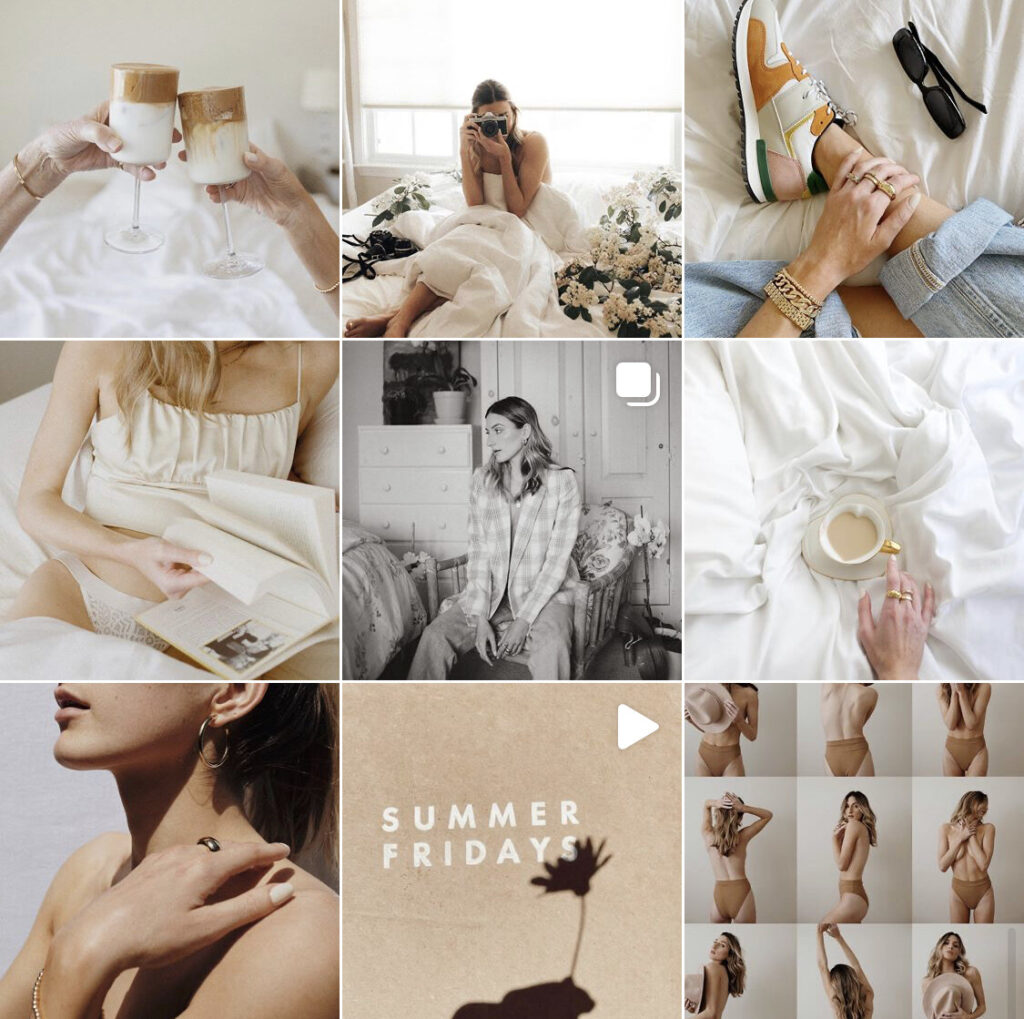
- Is the style bright and airy, or dark and moody?
- Are you going for clean minimalism or high-saturation vibrance?
- Should it feel organic and natural, or bold and graphic?
Use mood boards, Pinterest collections, or a few inspirational feeds to define your direction. This will help guide every editing decision that follows.
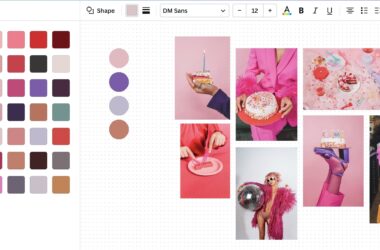
2. Choose a Consistent Color Palette
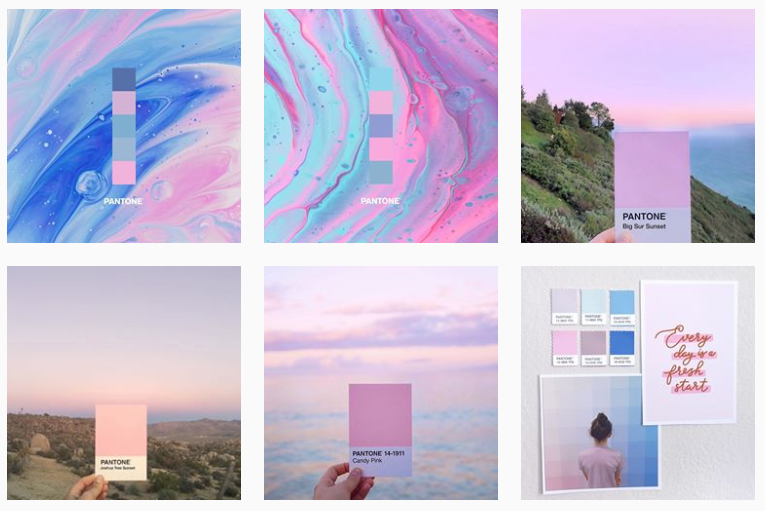
Consistency in color is key to a cohesive feed. You don’t need to apply the exact same colors to every photo, but you should aim for harmony in tone.
Tips:
- Use similar temperature (warm or cool) across your photos
- Apply subtle color grading to match shadows and highlights
- Highlight brand colors subtly through props, clothing, or overlays
Apps like Lightroom Mobile, VSCO, and Tezza let you apply color presets and custom filters across your entire gallery.
3. Use Presets or Custom Filters
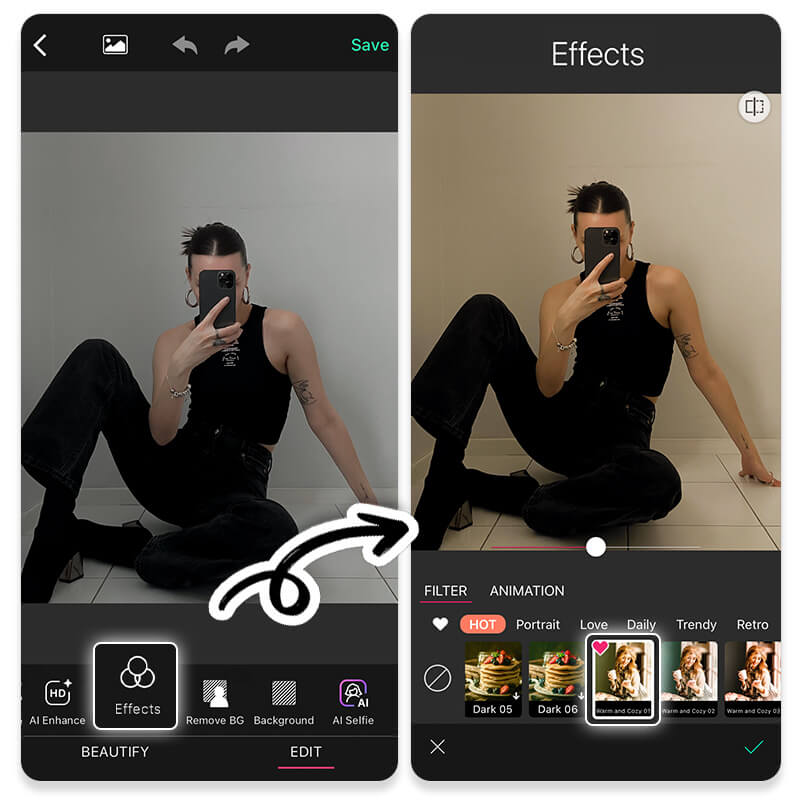
Presets are your secret weapon for maintaining aesthetic cohesion. They allow you to apply the same base edits (like tone curve, saturation, and contrast) across multiple photos with one click.
Where to get them:
- Purchase from professional creators (Lightroom presets)
- Use built-in filter packs (VSCO, Tezza, A Color Story)
- Create your own by editing one photo, then saving those settings
Apply your preset, then make small tweaks to fit each individual photo—presets are a base, not a one-size-fits-all solution.
4. Prioritize Natural Light and Exposure
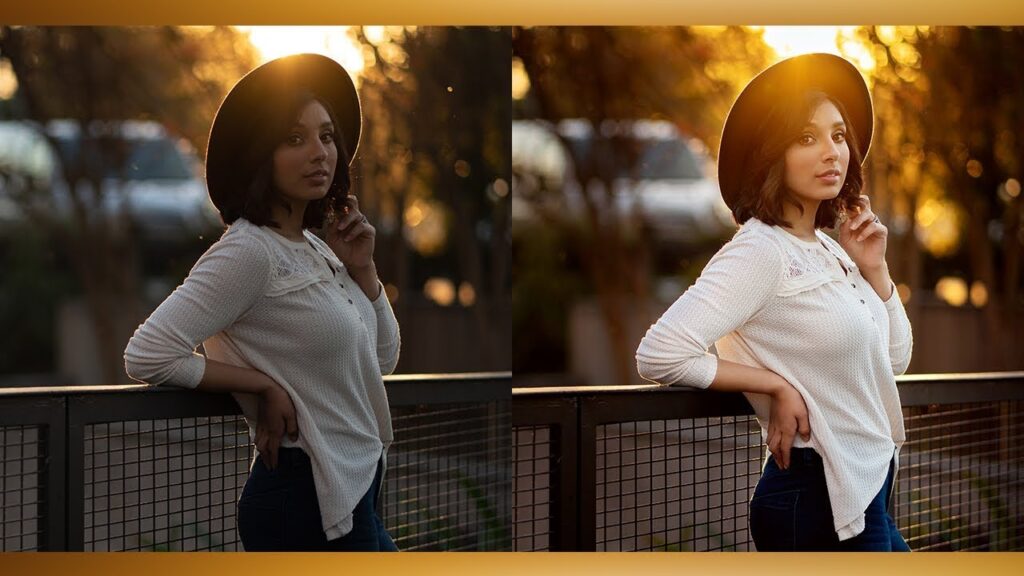
Whether you’re shooting with a DSLR or a smartphone, good lighting makes editing easier and more effective.
Shooting tips:
- Use natural light (avoid harsh midday sun when possible)
- Shoot in RAW if your app or camera allows it (better flexibility in editing)
- Slightly underexpose to preserve highlight details, especially for light, minimal feeds
Editing tips:
- Balance highlights and shadows for clean contrast
- Keep whites and blacks in check to avoid blown-out or muddy areas
5. Straighten, Crop, and Frame with Intention
Visual symmetry and alignment help your feed feel polished and intentional.
Editing essentials:
- Straighten crooked lines, especially in architecture or flat lays
- Crop with platform specs in mind (1:1 for Instagram grid, 4:5 for posts, 9:16 for stories)
- Use the rule of thirds to guide subject placement
A well-framed photo can elevate even the simplest image.
6. Keep Skin Tones Natural
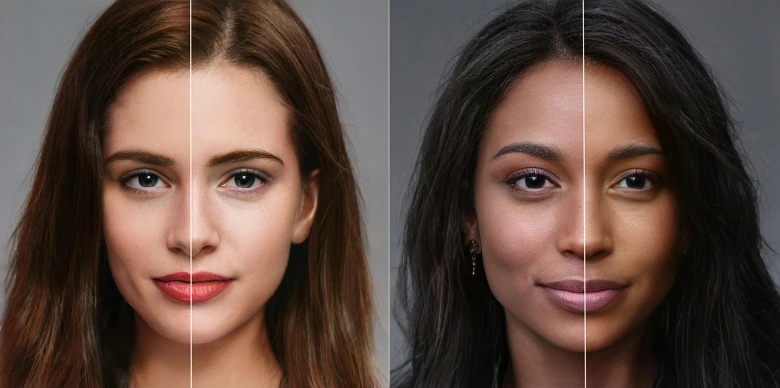
If you’re editing photos with people, pay close attention to skin tones. Oversaturation or incorrect white balance can make subjects look unnatural.
Best practices:
- Adjust temperature to remove unnatural orange or blue tints
- Use selective tools (like brush or radial filters) to brighten faces without overexposing the background
- Avoid overly smoothing or skin filters—they can look artificial and distract from authenticity
Aim for polished, not plastic.
7. Use Editing Apps Designed for Social Media
Mobile-friendly apps make editing fast and effective, especially when you’re managing content on the go. Here are top options:
- Lightroom Mobile: Advanced control, presets, selective editing
- VSCO: Minimalist presets, mood-based filters
- Tezza: Trendy presets, dust/grain overlays
- Snapseed: Powerful, precise editing tools for free
- Canva: Layout design + basic photo editing in one
Choose a few and build a workflow that works for your style and schedule.
8. Add Subtle Enhancements for Personality

Once your base edit is done, small touches can help define your style:
- Grain or texture for a vintage or film look
- Glow or bloom effects for dreamy aesthetics
- Text overlays, frames, or color blocks for graphic feeds
- Shadows and gradients to add depth
Be consistent with these elements—don’t overdo them, and make sure they match your brand tone.
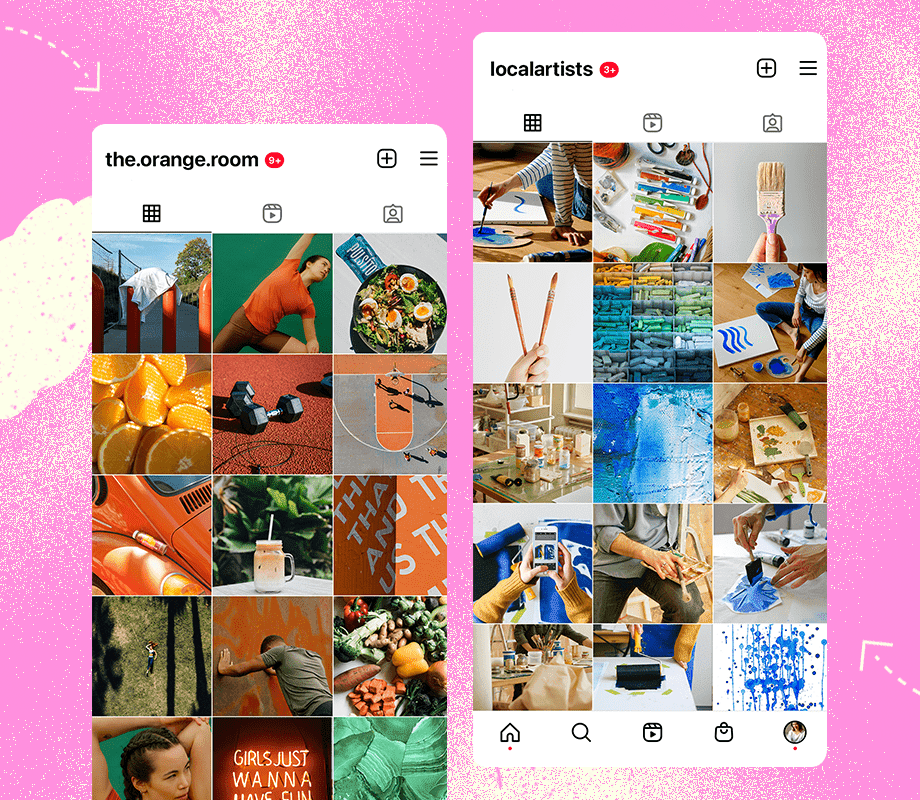
9. Preview Your Grid Before Posting
An individual photo might look great on its own, but always consider how it fits into your feed as a whole.
Tools to try:
- UNUM or Planoly: Preview Instagram grids and schedule posts
- Later: Plan multi-platform content with a visual calendar
- Preview App: Drag-and-drop interface for organizing your gallery
Aim for balance between close-ups and wide shots, light and dark tones, and color distribution across posts.
Final Thoughts
Editing photos for social media isn’t just about making images look pretty—it’s about curating a cohesive story, visually and emotionally. With consistent editing, thoughtful planning, and a strong sense of your visual identity, you can build a recognizable aesthetic that sets your content apart.
In the noisy world of social media, your feed should feel like a brand, not a random collage. Stay consistent, stay intentional—and let your visuals speak volumes.